Rustic Blanket Ladder

Built this blanket ladder for the mountain of cozy blankets we have around the house to stay organized for an easy and simple look.
Going to keep this how-to pretty basic, the sky is the limit on how you want to design your own ladder. These are the materials and tools that I used to achieve what you see in the photo. You can use whatever tools you have available to complete this project.
Materials List:
2- 2x3's cut to 7ft or whatever you want the height to be
1- 2x2" cut into four pieces. 19" 18" 17" 16"
Wood Glue
8 - 2" drywall screws
80 grit sandpaper
Wood Stain or Homemade mixture
Briwax Liming Paste
Tools:
Mitre Saw
1/2" Drill
1 1 3/8" Forstner Bit
4 1/2"Angle Grinder
4 1/2" Carbide Cup Wheel(https://www.harborfreight.com/4-1-2-half-inch-carbide-cup-wheel-66613.html
Palm Sander
Speed Square
Pencil
Tape Measure
Safety Glasses
Apron (optional)
Coffee (also optional)
"Common Sense" ( a must-have ) Always use caution If you are not familiar with the safety and handling procedures of any power tool. Please attempt at your own risk.
1 - Cut the 2-2x3's to length
2 - Put the 2x3's side by side and measure up to where you want your first 2x2 to be. My ladder steps are spaced out 18" apiece.
3 - With your speed square draw a line across both 2x3's so they will both be the same height spacing. ( try to get this accurate, if your spacing is off your steps will look crooked when it's time to assemble).
4 - Find the center of the 2x3 and draw another line indicating the center of the 2x3. Clampdown your pieces.
Take your 1 3/8" Forstner bit and drill about a 1" into the 2x3.
5 - Repeat this process for the rest of the steps.
6 - Now comes the fun part. While still clamped down. Take your angle grinder and carbide cup and start distressing the wood to your desired look. Note: start very slowly, this cup will rip through the wood like butter and will be very rough. It also has some serious kickback so rip with caution. Take your time.
7 - Now prepare your steps by measuring about a 1" at the end of each wood step.
8 - Carefully grind down the corners until you think it is able to fit into the drilled holes on your 2x3's.
Note: this may take a few times. It does not have to be perfect but you do not want too much play. A tight fit will have a stronger joint.
9 - Repeat this process with the rest of your steps.
10 - Once you have completed and retrofitted your steps, check for square and make sure to make any adjustments before gluing and screwing.
11 - Drill a small pilot hole on the center holes of the 2x3's
12 - Put your 2x3's on a flat surface. Fill in holes with some glue then attach steps and drive a drywall screw from the outside of the 2x3 into the pilot hole to secure the steps to the 2x3. Repeat this process for the other steps and check for alignment before fully tightening the screws.
13 - Let dry overnight or if you think it feels secure enough for sanding then grab your palm sander. use 80 grit to knock out any rough spots unless you want a clean smooth feel than sand to your heart's desire.
14 - Apply a wood stain color of your choice. I applied a homemade wood stain comprised of steel worth and vinegar. Let dry. Note: Depending on the type of wood stain and weather conditions the stain may need a day or 2 or day. On a warmer day, the Homemade Stain can dry in an hour or so. (bonus)!
15 - Apply a layer of Liming Wax and let it sit for a few minutes. Then grab a clean cloth and buff to your liking.
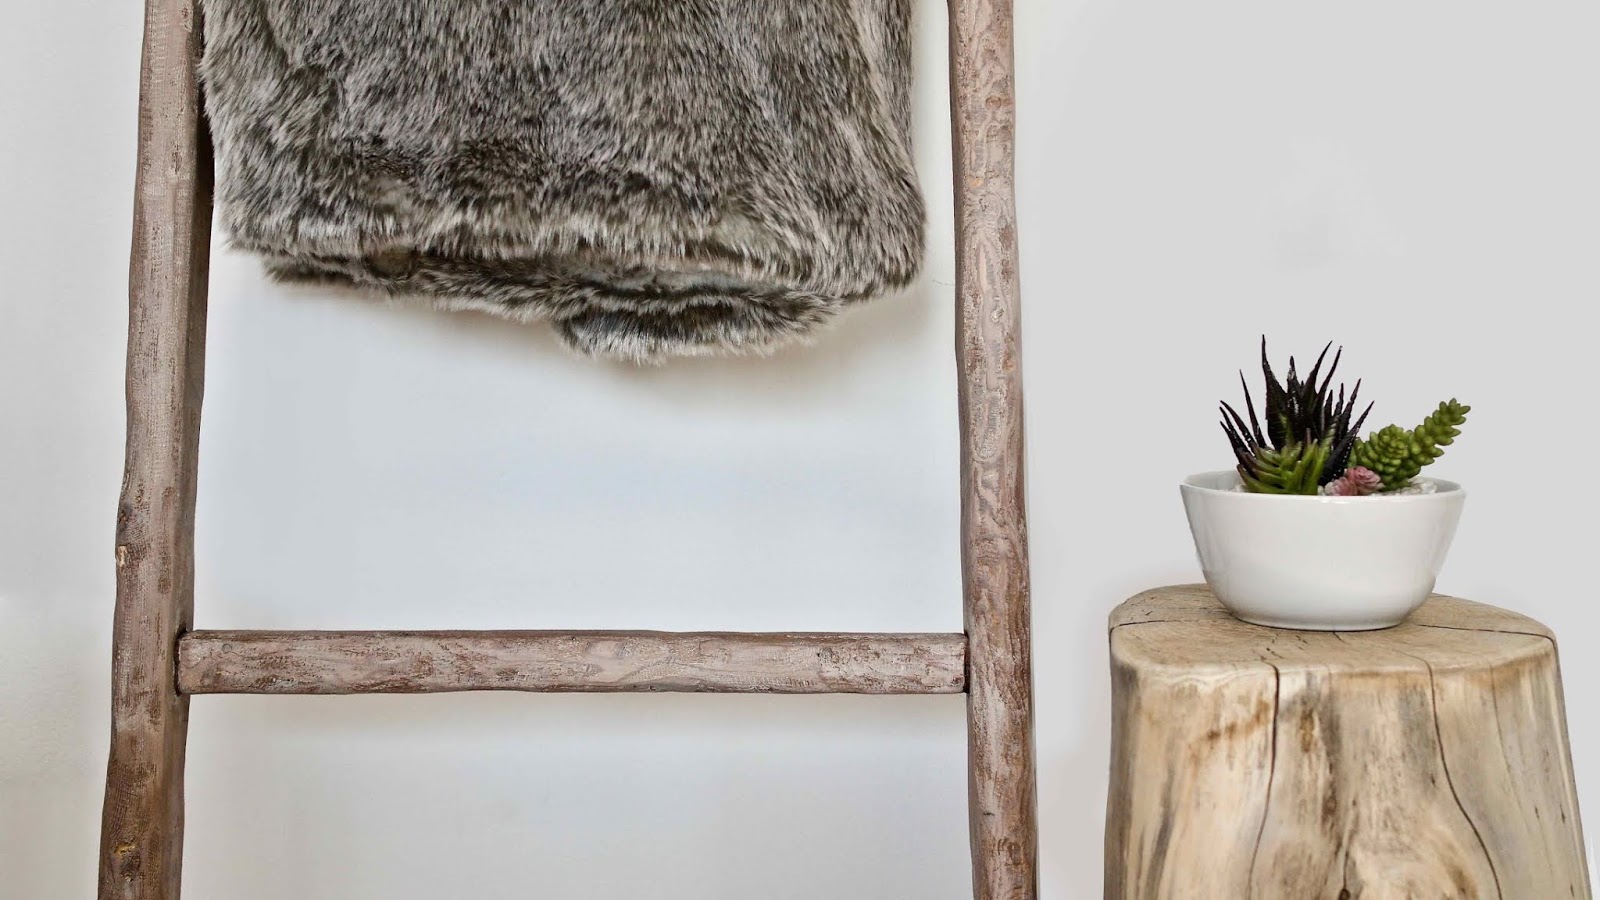
16 - Find a nice spot in your home and add a few cozy blankets.
-daddy dabbles
